Introduction
The application allows you to examine models created with the XCModel software; some models are freely downloadable from the project page XCModel.
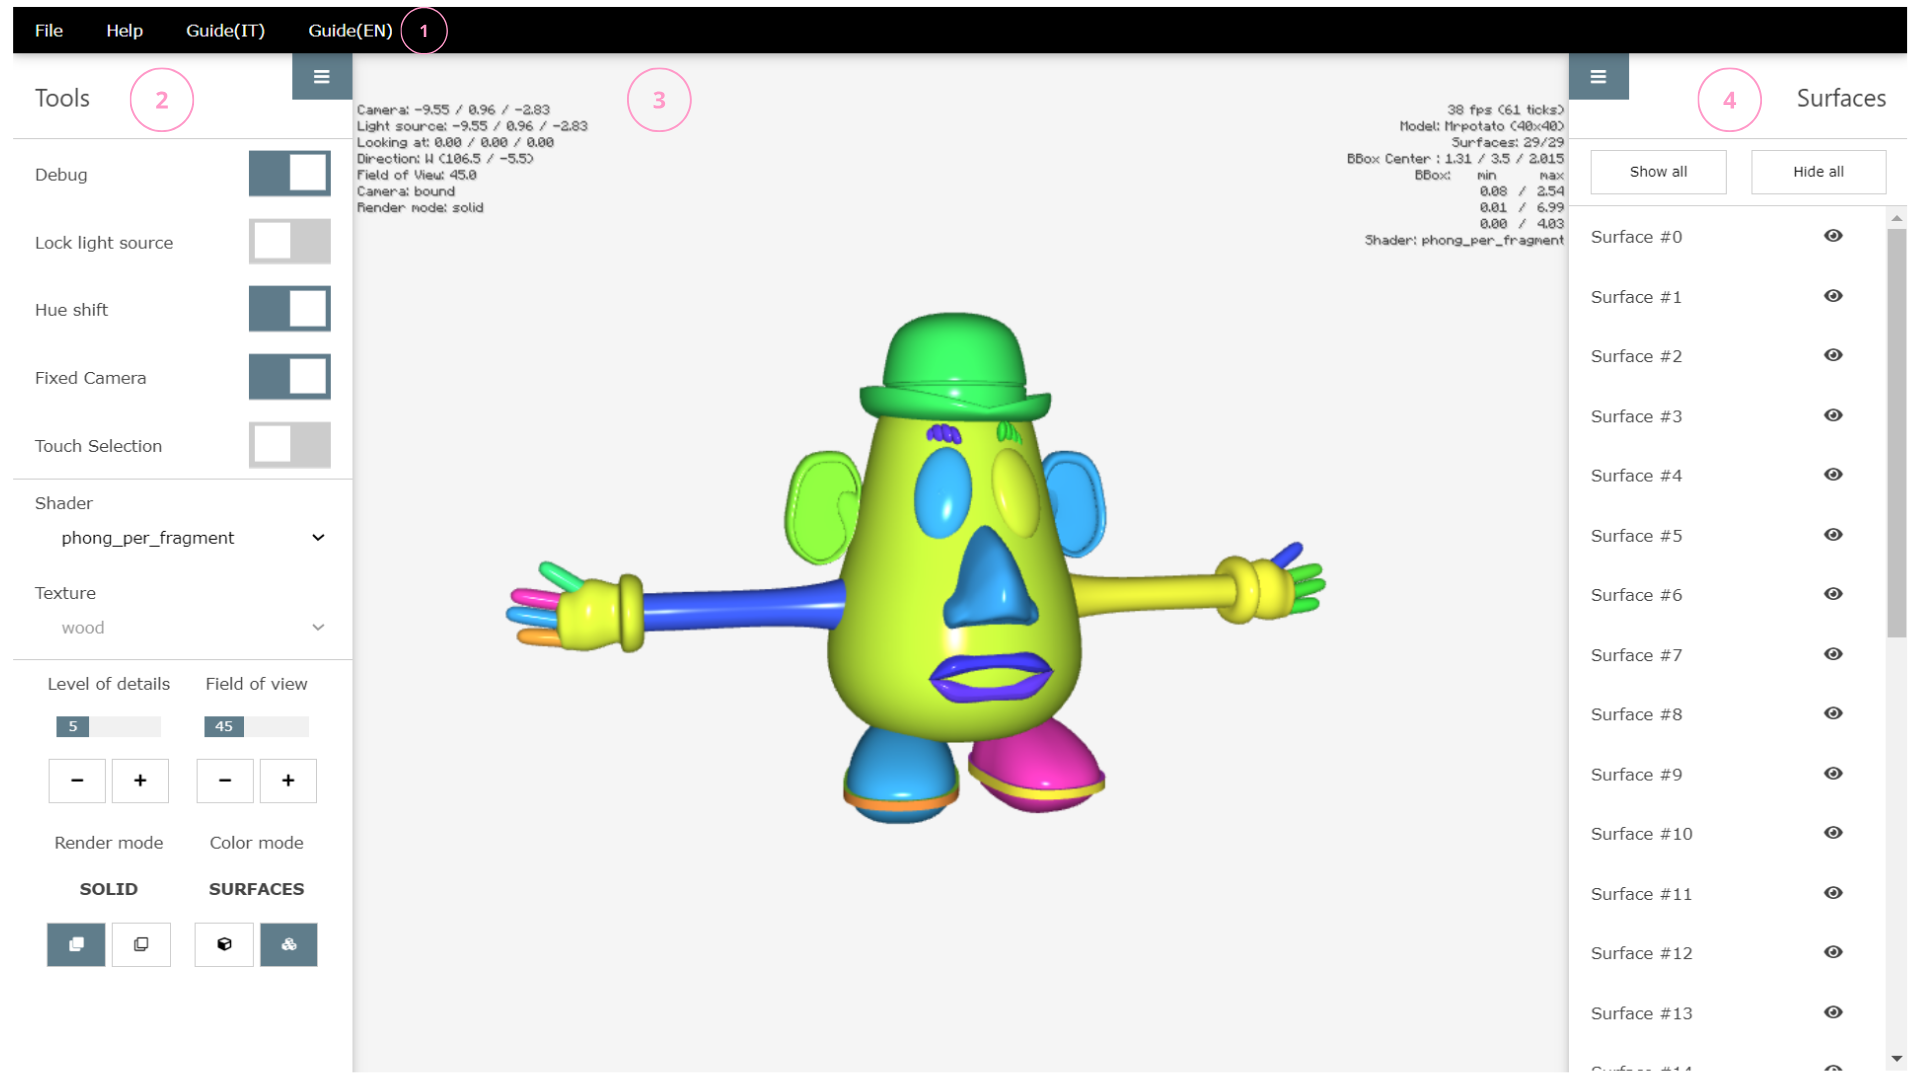
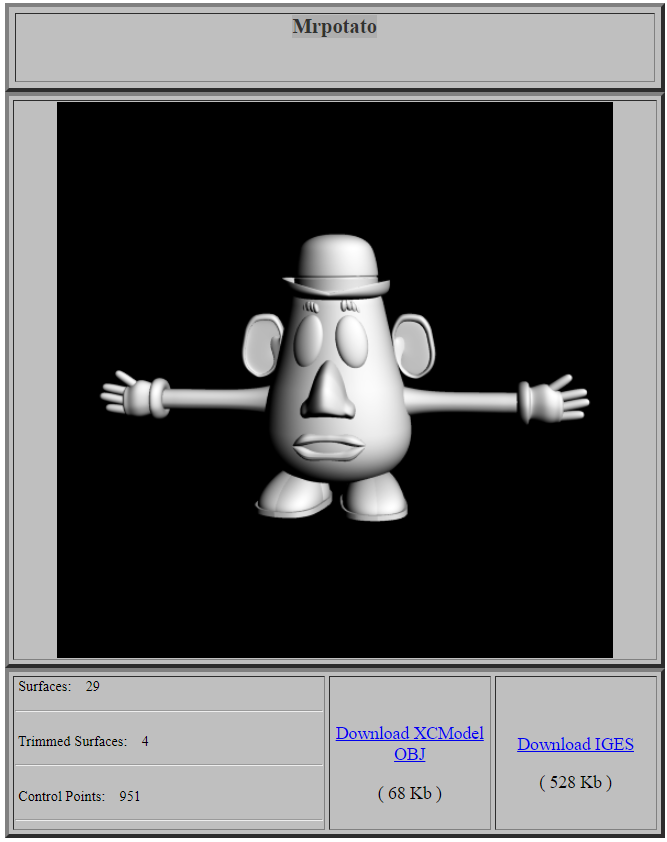
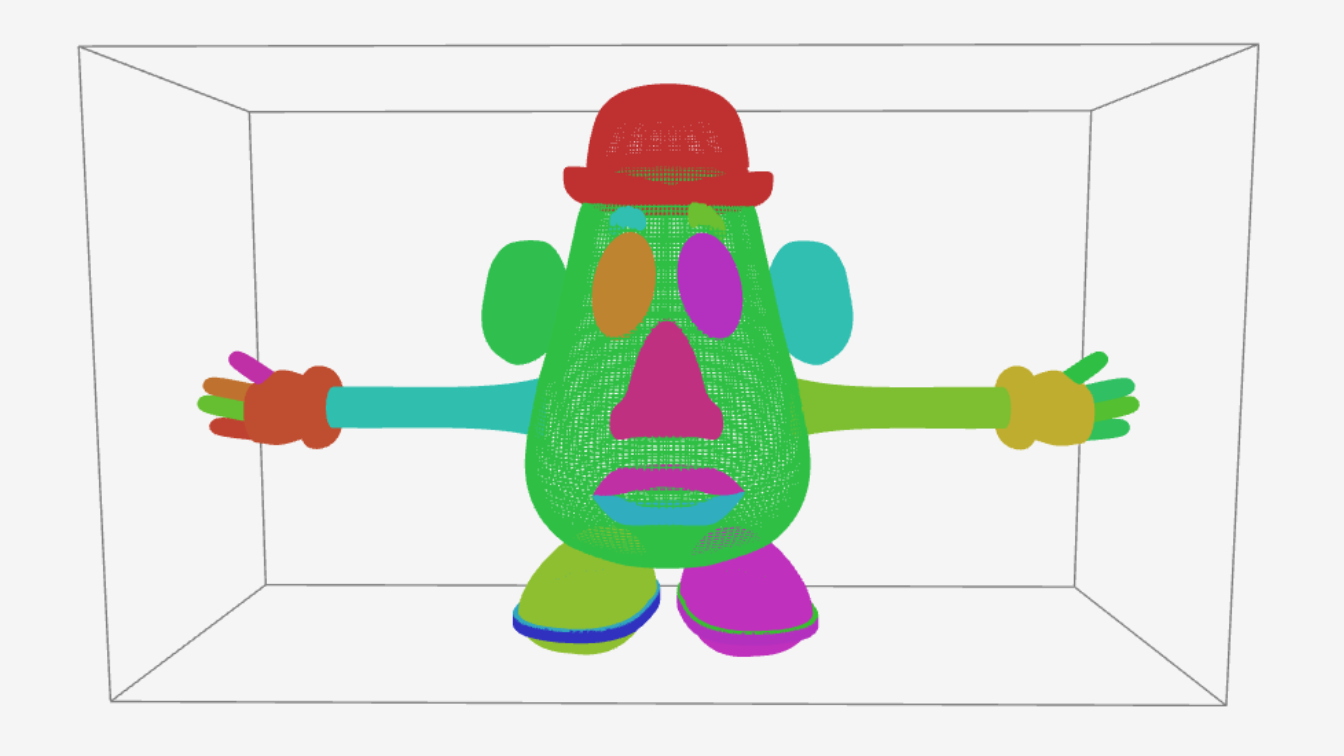
In the example, the model displayed is Mrpotato, downloadable in both IGES and XCModel OBJ formats.
Graphical Interface
The graphical interface offers numerous interaction possibilities for the user. It includes:
1. Menu Bar
A fixed component of the interface, it occupies the upper left part of the window. It offers three menus: File, Help, and Guide.

File
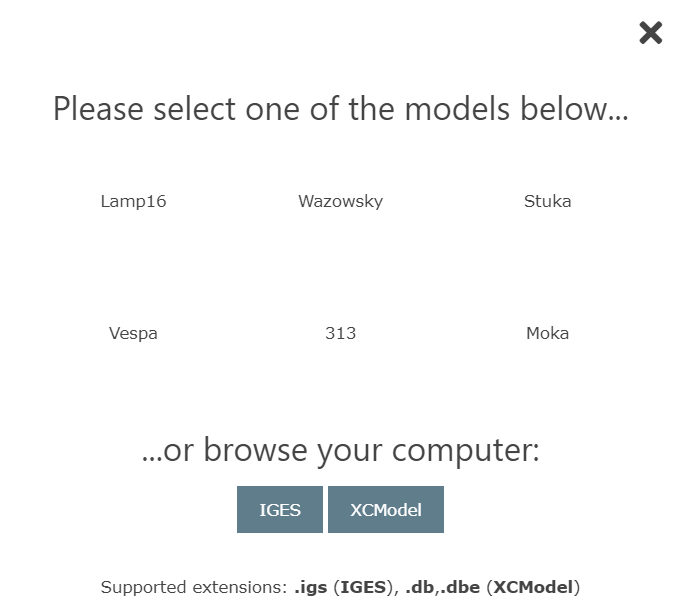
Model selection.
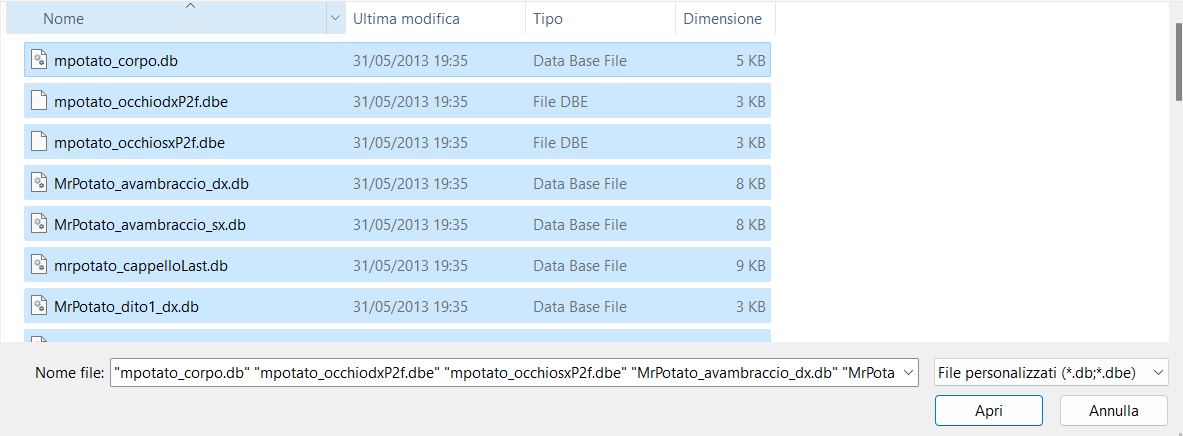
Selection of .db, .dbe files of the Mrpotato model
six default models of the application- or personally uploading a file in
IGES orXCModel format
The supported extensions are exclusively:
.igs (IGES),.db ,.dbe (XCModel).
How to download a model
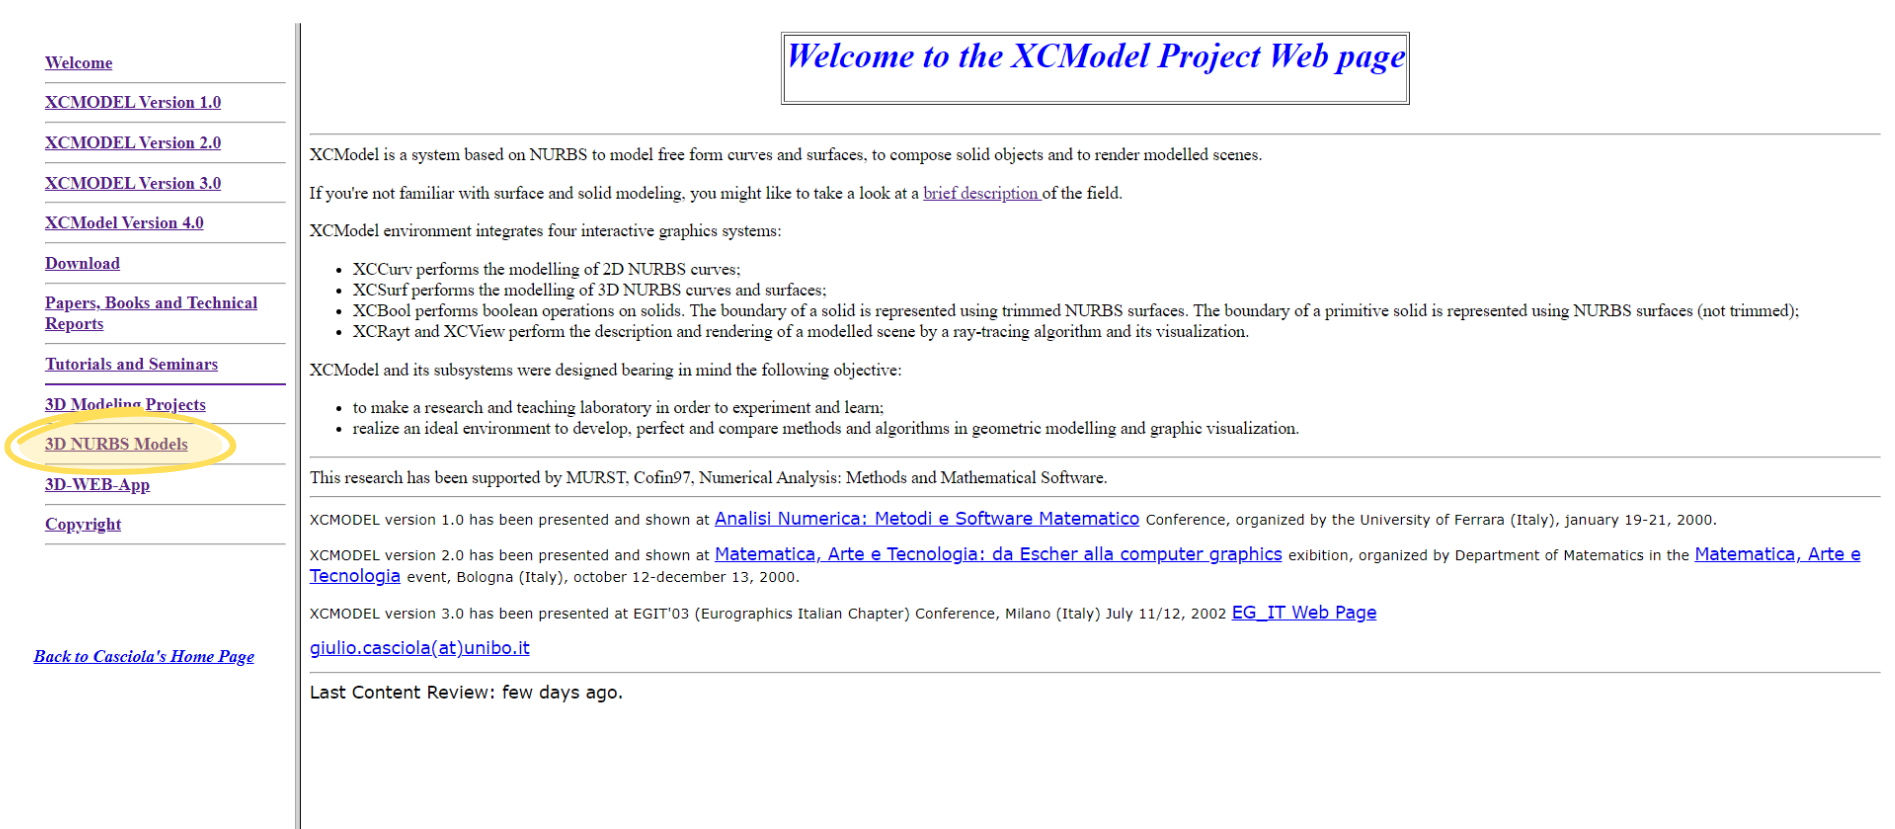
By going to the
- Aircraft
- Animal
- Bathroom
- Boat
- Character
- Furniture
- Kitchen
- Lamp
- Music
- Other
- Plants
- Vase
- Vehicle
In the example, the Mrpotato model is downloaded from the Character category. For each model, the following are visible:
- the number of surfaces that make up the model (29)
- the number of trimmed surfaces (4)
- the total number of control points (951)
By selecting
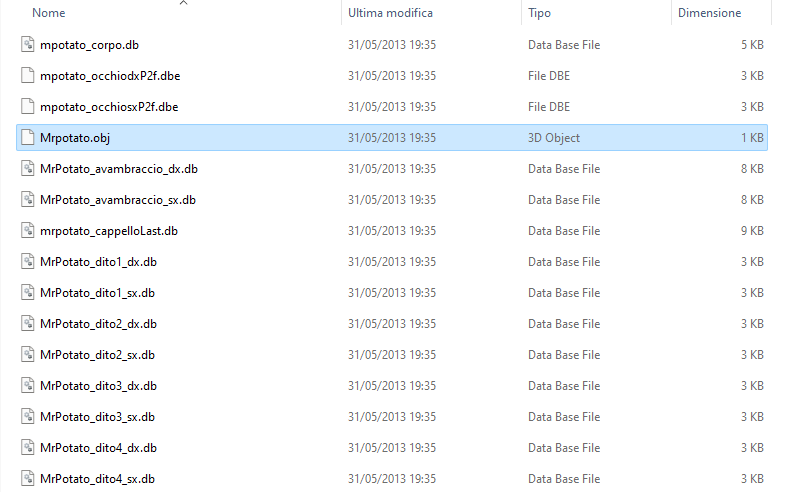
The extracted folder containing the .obj, .db and .dbe files
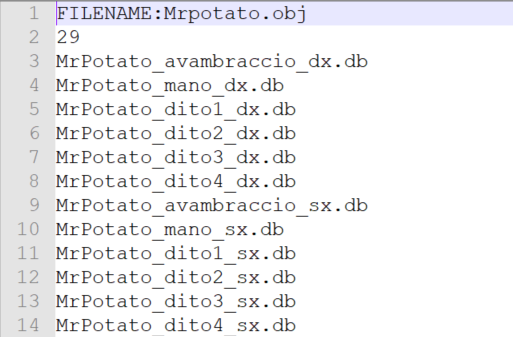
Excerpt of the Mrpotato.obj file
Inside the extracted folder, the .obj file is a text document that lists
the
-
A
.db -
A
.dbe
- the XCModel software allows the management of generic trimmed NURBS surfaces: the region of the parametric domain can be defined by generic 2D NURBS curves, while
-
the web application is able to correctly load and display only
.dbe files where the region of the parametric domain is defined by straight segments corresponding to the nodal partition of the NURBS surface.
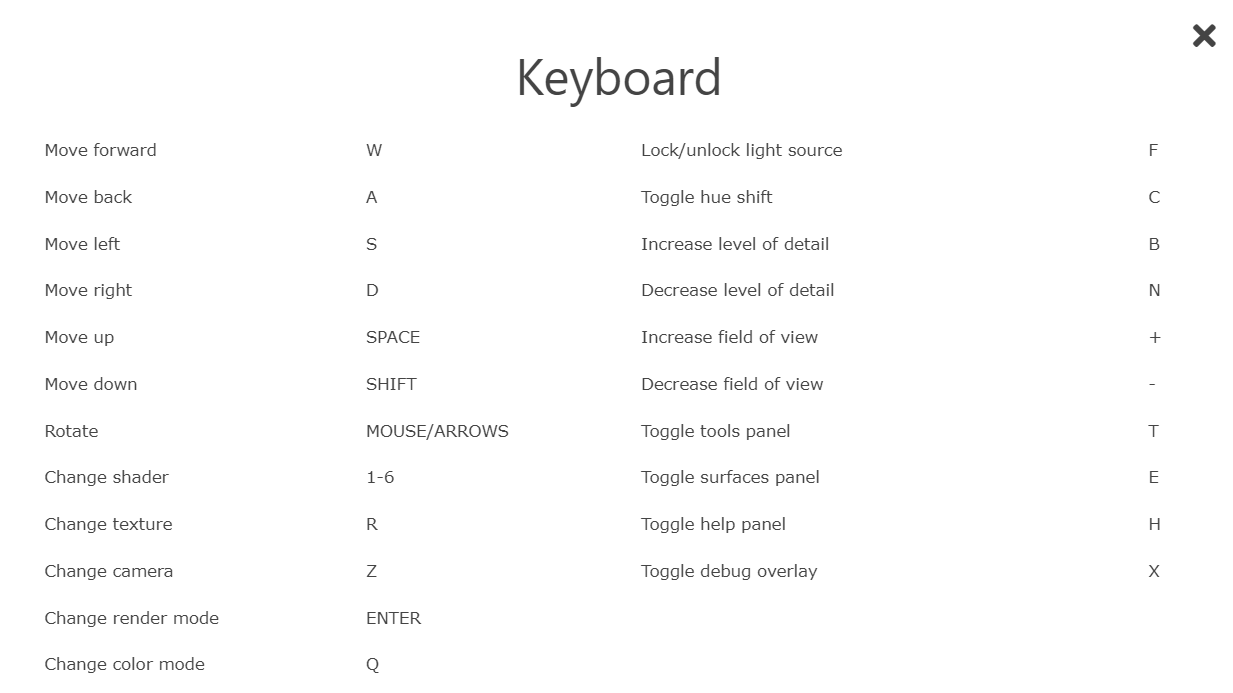
Help
The Help menu opens a window on the screen that lists the keyboard shortcuts for executing functions.
Guide
The Guide button allows you to open this guide.
2. Tools bar
The tools bar occupies the left part of the window. It can be shown or hidden:
- by selecting the icon with three horizontal lines

-
using the
T key on the keyboard if a 3d model is currently being visualized in the scene
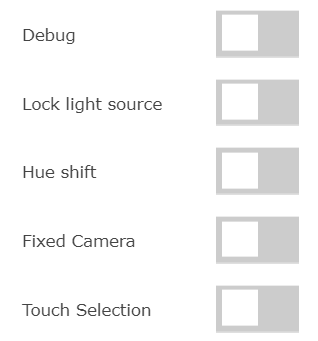
The five tools can be activated either by keyboard or by mouse click.
-
Lock light source : -
Hue shift : -
Fixed camera :LookingAt) will change the perspective of the scene. You can shift the focus to different areas of the scene while keeping the camera position constant. -
Touch selection :
-
Debug :Camera: the position of the camera. It can be fixed by deactivatingFixed camera , as indicated by the on-screen notationsCamera: freeandCamera: boundLight source: the position of the light source.-
If
Lock light source is activated, the light source is in a fixed position independent of the camera's position, -
if
Lock light source is not activated but the camera is fixed, the light still remains in the same position - only when both the camera and the light are free, their positions and directions coincide
-
If
Looking at: the camera's viewpoint. When the camera is free (Camera: free) it is fixed at0.00 / 0.00 / 0.00whereas it varies when the camera is lockedField of view: the width of the viewing angle of the scene-
Direction: the direction of the camera. When a new file is loaded, the camera retains the previous direction. Render mode:solidowireframe. It can be changed using the specific button.Shader: provides information on the shader used. If a texture is applied to the model, the name of it is indicated in thetexturefield.fps: measures the application's performance.Model: the name of the model (displayed only for IGES files or default models)Surfaces: indicates the number of surfaces and how many are visible out of the totalBBoxandBBox Center: indicate the coordinates and the center of the model's bounding box that can be seen by selectingRender mode: wireframe
Display of Mrpotato with Debug information
Available Shaders
Available Textures
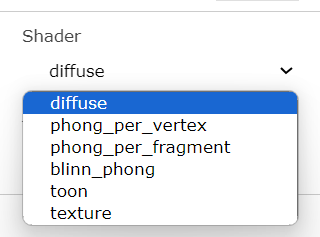
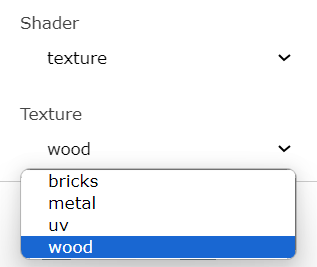
The application offers the possibility to view the model with
five shaders : diffuse, phong_per_vertex, phong _per_fragment, blinn_phong and toonfour textures : bricks, wood, metal and uv
Level of details and Field of view
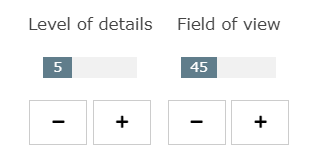
Additional parameters that can be interacted with are:
-
field of view , to modify the viewing angle of the scene from a minimum of 30 degrees to a maximum of 120 -
the
level of detail of the model, in a range from 1 to 16
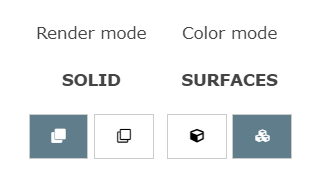
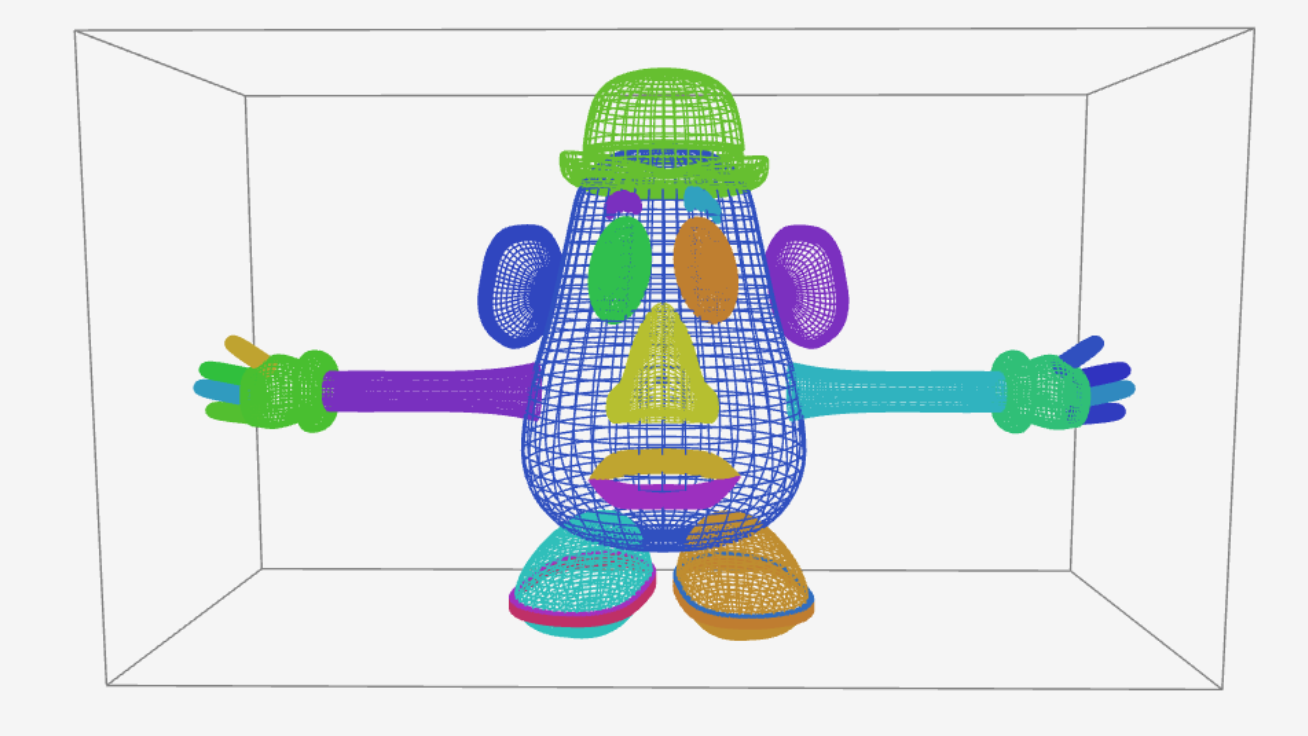
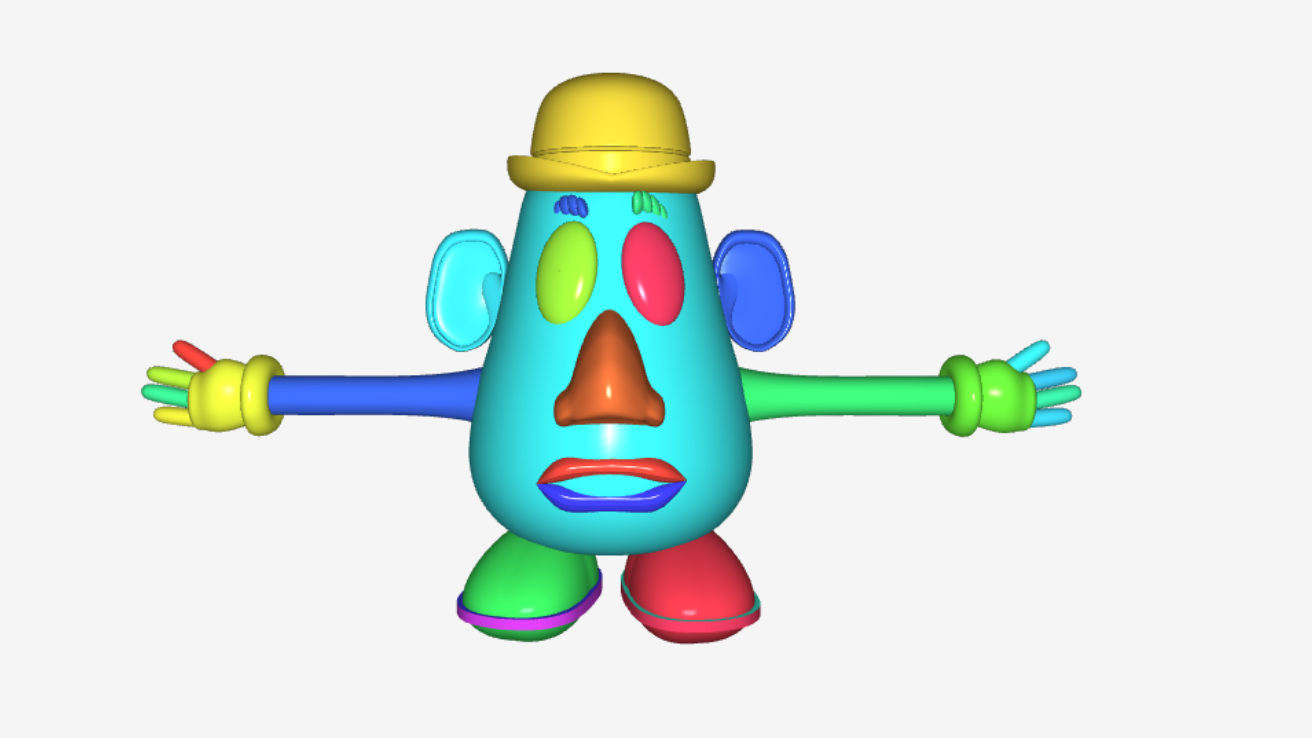
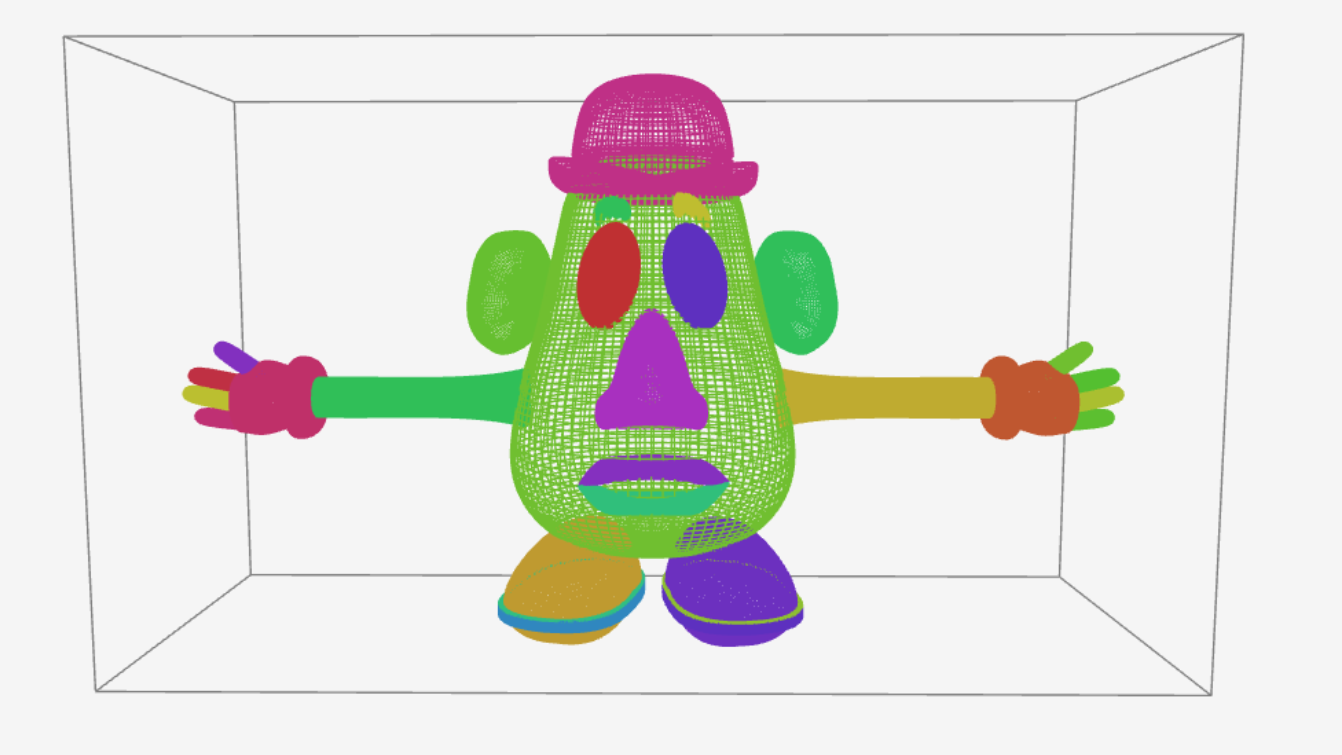
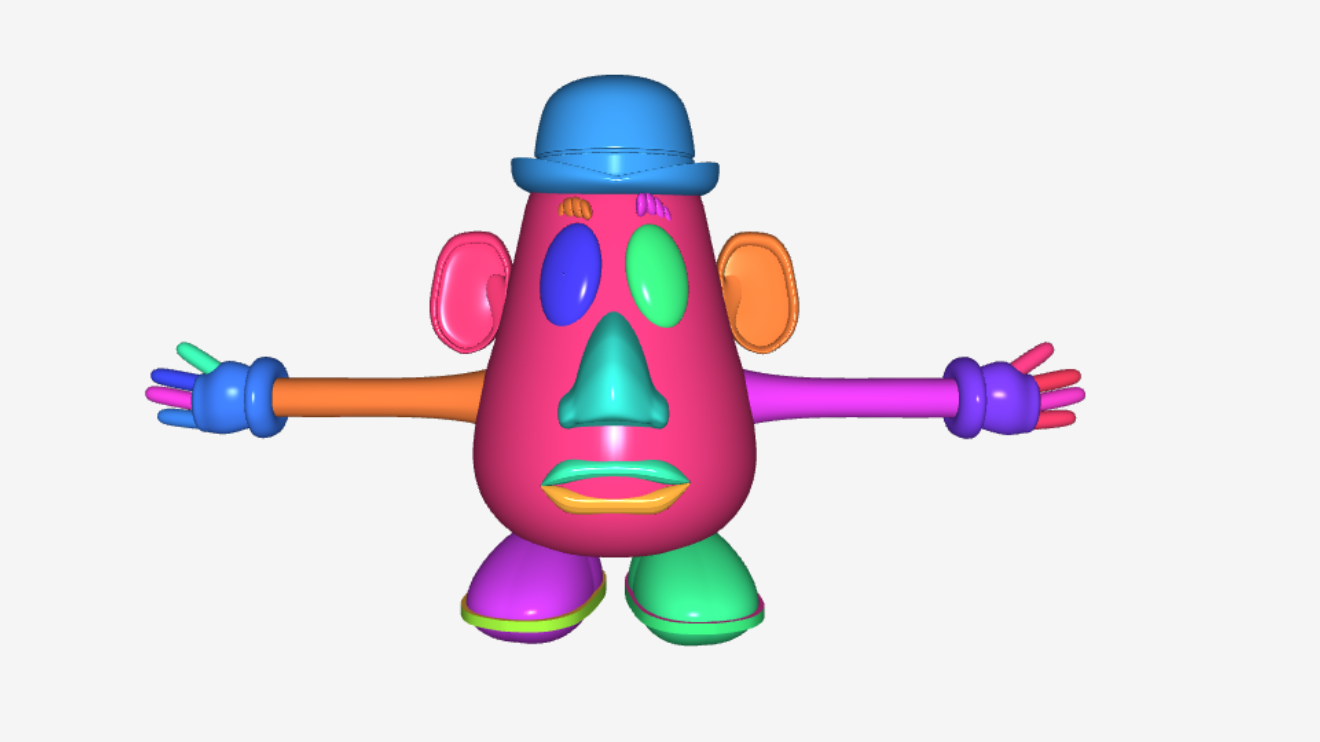
Render mode and Color mode
Two different modes of
SOLID , for the visualization of surfacesWIREFRAME , which also shows the model's bounding box
MODEL , where all surfaces have a single colorSURFACES , where each surface has a different color
Tessellation and Level of Detail
The
Visualization Examples
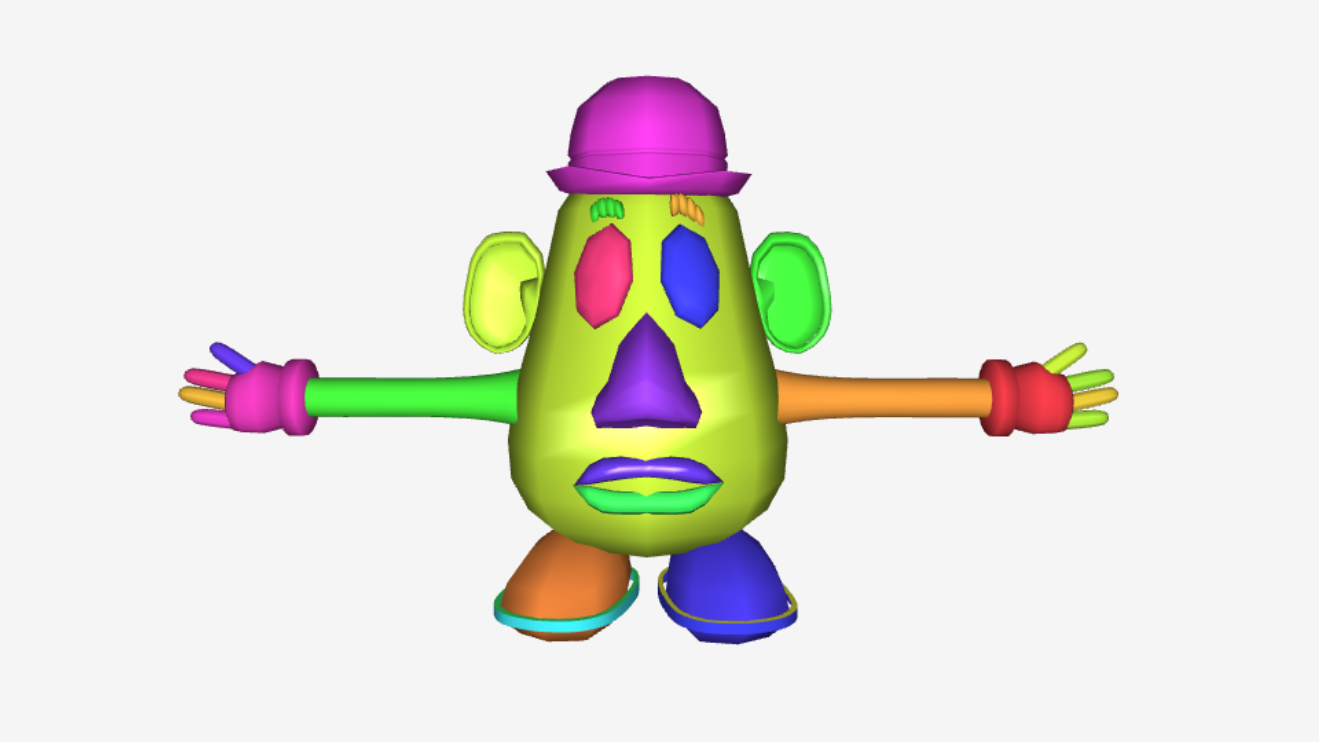
Mrpotato SOLID LOD=1
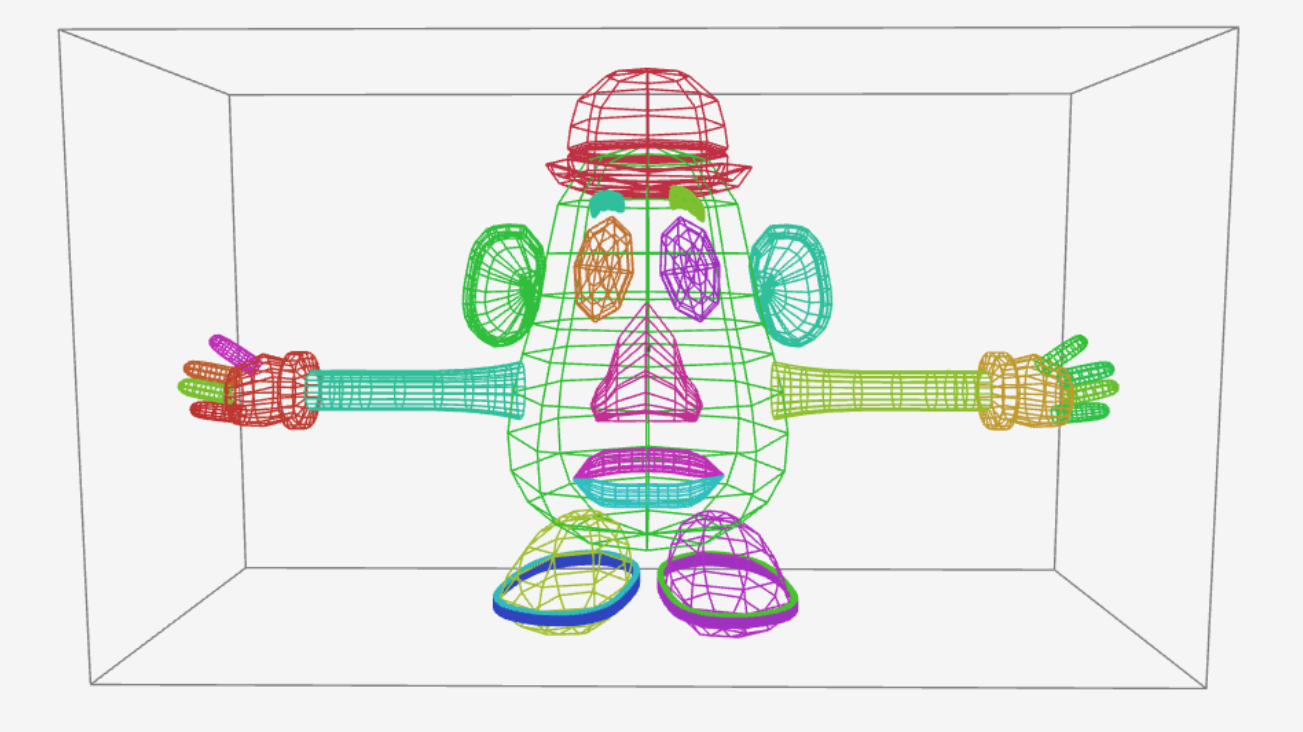
Mrpotato WIREFRAME LOD=1
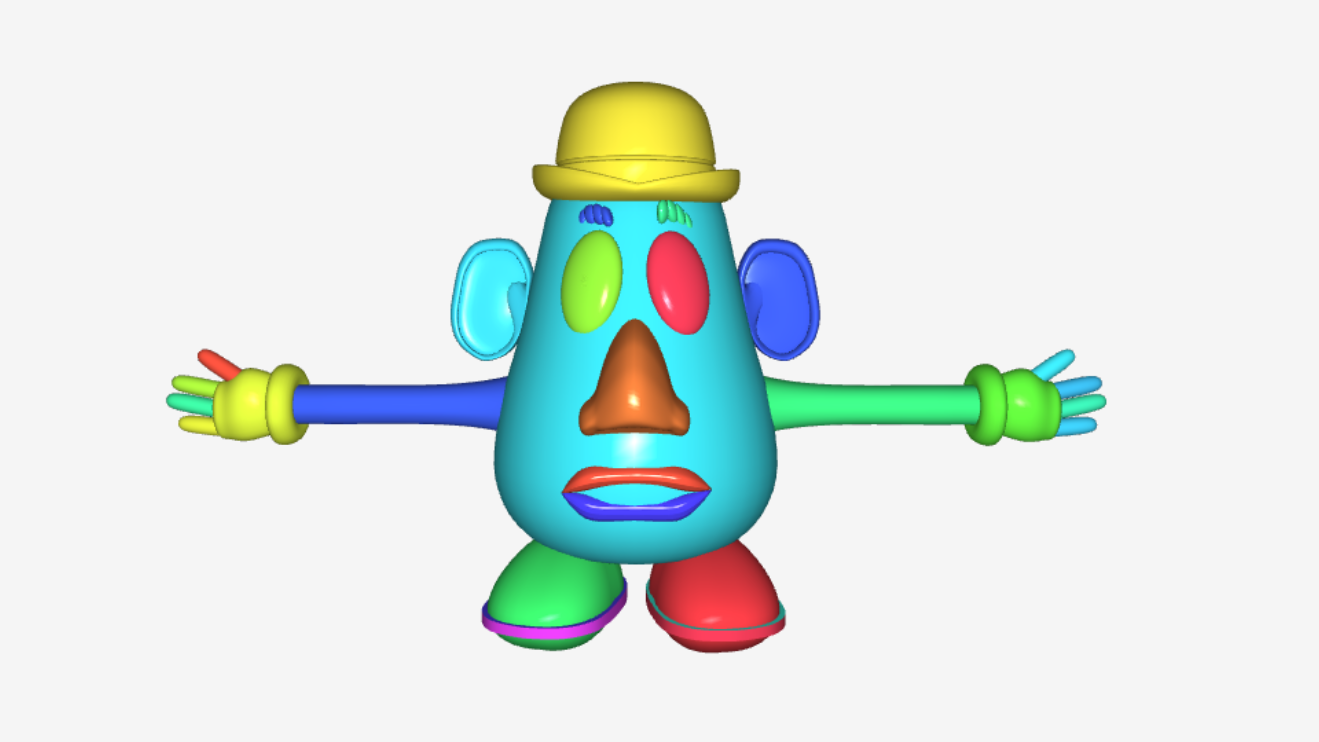
Mrpotato SOLID LOD=5
Mrpotato WIREFRAME LOD=5
Mrpotato SOLID LOD=10
Mrpotato WIREFRAME LOD=10
Mrpotato SOLID LOD=16
Mrpotato WIREFRAME LOD=16
3. Canvas
The 3D canvas allows for scene visualization and occupies the entire window, resizing dynamically based on the screen size. It can be navigated using
-
the
keyboard (with the shortcuts listed in the Help menu) -
using the
mouse : the mouse wheel allows you to zoom in or out (enlarging or reducing the scene), and by holding it down, you can change the viewpoint by moving the mouse -
using
touch devices
4. Surfaces List
The list of surfaces that make up the scene occupies the right side of the window. Like the tools bar, this list can also be shown or hidden:
- if a 3D model is currently visualized in the canvas, using the
E key on the keyboard - by selecting the icon with three horizontal lines
Each surface in the list can be hidden from view using the icon
 , which toggles the
visibility of the surface. Additionally, there are two buttons:
, which toggles the
visibility of the surface. Additionally, there are two buttons:
-
Show others -
Hide others